Get Connected!
Come and join our community. Expand your network and get to know new people!


")


")

-

MMOEXP Shop
- 1
- 116
- 0
- 0
-
Sound Packs
- 2
- 595
- 0
- 0
-
Themes
- 1
- 494
- 0
- 0
-
Wallpapers
- 2
- 655
- 0
- 0
-
Our Games & Apps
- 3
- 830
- 0
- 0

I tracked down the error of a error page getting displayed when you log in. It was due to a forum issue and I will let you know when I get the forum... Show more


I spent the day setting up a cgit instance where Git repositories related to the Haiku project can be viewed online,now that the Haiku project has... Show more
Loading content, please wait.
I will be updating the OS for this server to 24.04 later this evening. Will make a backup of the system right before it just in case
I've fixed the forum issue of the error appearing when logged in... Let me know if you still have problems...

beos.retro-os.live/index.php/component/users/
Is anything missing there? Loading content, please wait. 2 months ago
Today I finally published my new website,on which I worked for the last few weeks.It is completely redesigned and makes it clear without any doubt... Show more
Loading content, please wait.
Due to the spam i am trying to enable akismet. Let me know if it blocks legit content...
If things go well,I'll soon be a member of the Haiku Support Association e.V. Just sent my membership request.Last BeGeistert event was many years... Show more
Loading content, please wait.
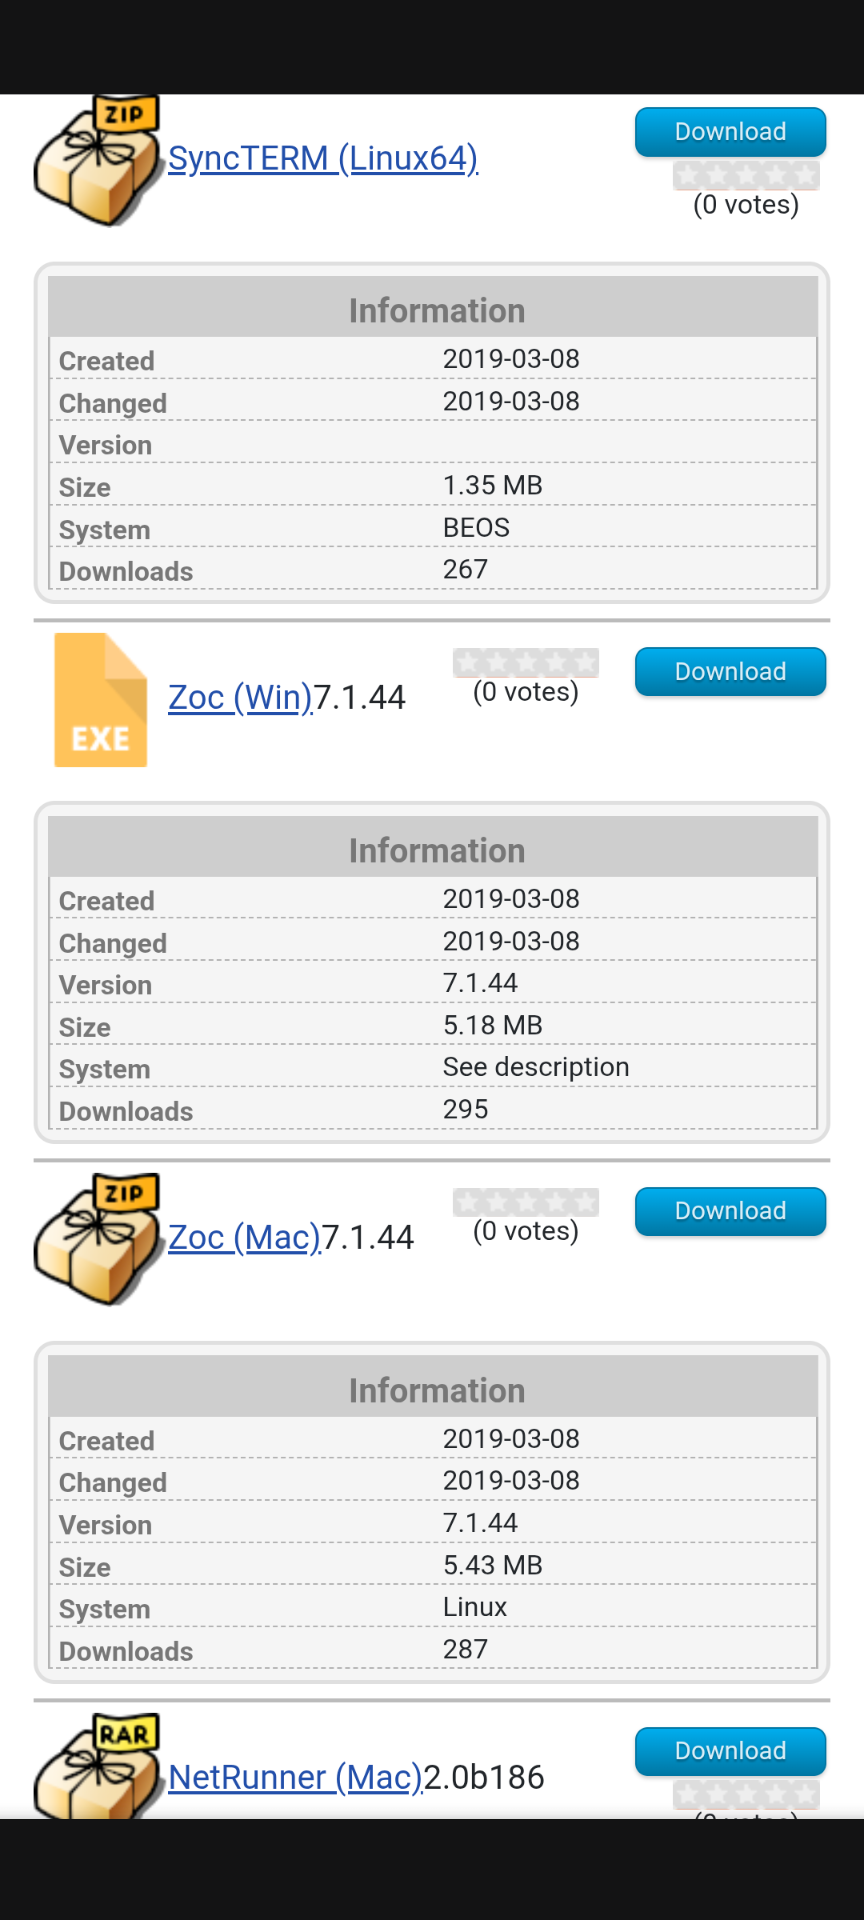
How are the "system" fields populated on the downloads part of this website?

I finished making some last quick fixes and pushed the latest changes to Codeberg.You can now clone the repository from... Show more
Loading content, please wait.
My Usenet reader project,now renamed to BeGroups,is making good progress.This is the final screenshot that will also be included in the Git... Show more
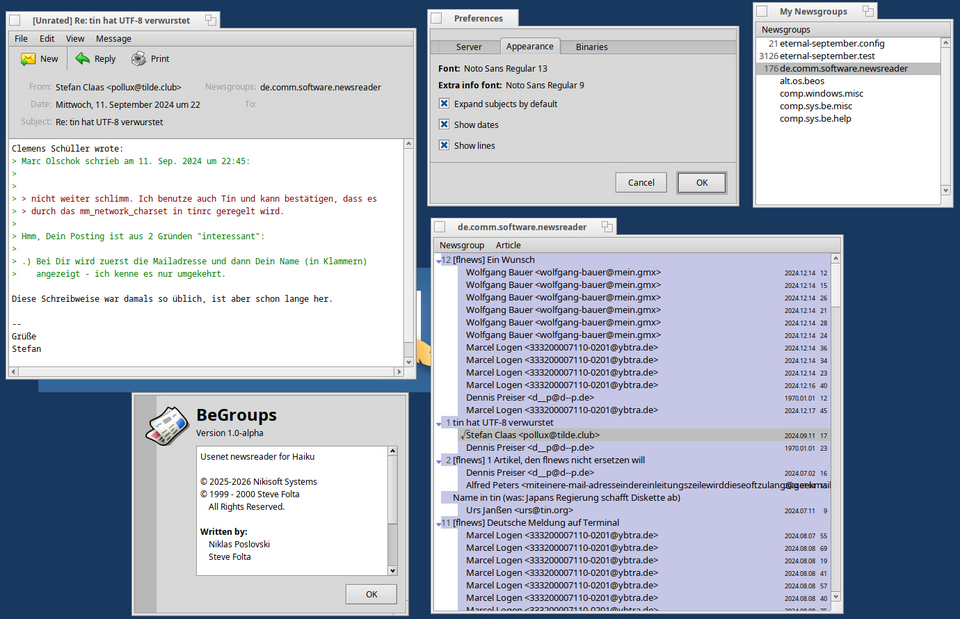
A few minutes ago,I successfully posted the first test article using my own Haiku-native Usenet newsreader Item.Took me some time to figure out why... Show more

Today I had to deal with AI scrapers DDoSing my OpenGrok instance once again.Oh,how much I hate that.Can't they just,like,clone the Git repository... Show more
Loading content, please wait.